Showing posts with label Happy Birthday. Show all posts

Jan 10, 2019

Too Ewe ...

Hello my crafty friends!

Today's card is is a look back at one I did in 2016 made with this cute MFT stamp set and matching dies....

I love sheep and this is an extremely cute set.  I ordered it online from Memories and More in Kelowna.  It is called EWE ARE THE BEST !  


This card was made for my BFF Tina!

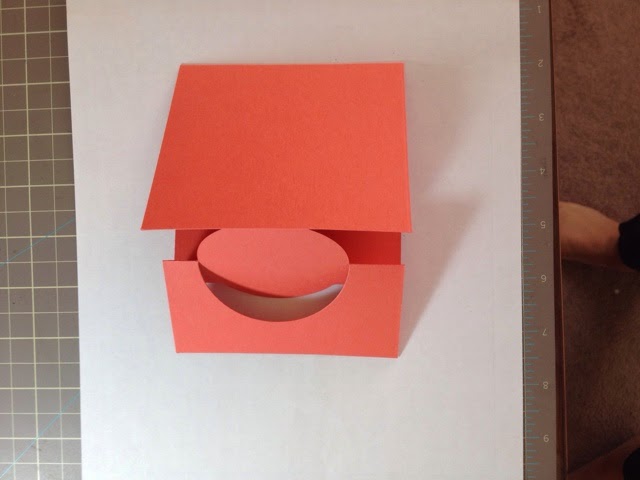
I also made this kleenex holder for another friend using the same stamps.


Hope you like it!

If I can give you just a little inspiration, where you can look at one of my cards and think I can do that, or I could tweak that and put my own spin on it, then I am achieving what I have set out to do! 

P.S. Please share. with your friends and leave me a comment below.

Hugs,

Apr 15, 2016

Hang in there!!

Hello my crafty peeps!

Today's card is a cute card that is good for a birthday or just because...
I say the idea on Pinterest and then my friends made one on the weekend at my day crop and I decided to do at Tea and Crafting on Wednesday.....

A few years ago I received a fun cloud background stamp as a free gift from Unity Stamps and I thought it would be a great time to use it.  I used the Every cloud has a silver lining ~ You just have to look up to see it sentiment on the inside of mine...

Hope you like it!!

If I can give you just a little inspiration, where you can look at one of my cards and think I can do that, or I could tweak that and put my own spin on it, then I am achieving what I have set out to do! 

P.S. Please share. with your friends and leave me a comment below. I read them ALL!

Hugs,

Mar 23, 2016

Stampin' Up! From the Herd

Hello my crafty peeps!

Happy Hump Day!  I made this a few days agi but never got around to taking a photo and posting, Last week I was looking after hubby who hurt himself and just not in a real crafty frame of mind.

But I had promised to make a fun birthday card from a group for a friend. Right away I thought of "From the Herd"


Always laugh when I see this and think of the stamp set

Hope you like it!!

If I can give you just a little inspiration, where you can look at one of my cards and think I can do that, or I could tweak that and put my own spin on it, then I am achieving what I have set out to do! 

P.S. Please share. with your friends and leave me a comment below. I read them ALL!

Hugs,

Mar 6, 2016

Rose Wonder ...

Hello my crafty peeps!

Todays card is for a friends birthday and I thought I would try my Rose Wonder stamp set for the first time.  I heat embossed in clear on Shimmery White cardstock and then water coloured in Tempting Turquise and Wild Wasabi.  Once dried I applied Wink of Stella to the rose. Hope you can see the shimmer on the close up.


Hope you like it.

If I can give you just a little inspiration, where you can look at one of my cards and think I can do that, or I could tweak that and put my own spin on it, then I am achieving what I have set out to do!

P.S. Please share. with your friends and leave me a comment below. I read them ALL!

Hugs,

Apr 22, 2015

Petals Potpourri Grunge!

Good Morning my crafty peeps!

I finally broke out my Petals Potpourri stamp set and punch, needed a birthday card for my sister.  I took my inspiration from a card I found on Pinterest.

As you can see my flowers have three layers, one leaf layer and two petal layers that I curved with my bone folder to form a slight curve and for the center I filled in with microbeads. The top layer has been popped with dimensionals.


Supplies used:
  • Cardstock: Naturals white and Whisper white Stampin' Up!
  • Stamps: Stampin' Up! Petal Potpourri, Gorgeous Grunge clear stamp sets
  • Ink: Stampin' Up! Daffodil Delight, Chocolate Chip, Old Olive stamp pad
  • Punch: Stampin' Up! Flower Medallion 
  • Microbeads
  • Stardust glitter pen
Hope you like it!  

Hugs, Karen

Built for Free Using: My Stampin Blog

Feb 21, 2015

Happy Birthday!

Hi everyone!  I have been sooooo busy!  I have a couple  of announcements to make, and then I want to share a card that I made. 

You all know that I am in the process of starting a great group of crafty peeps, we are called "Pretty in P-ink"  AKA the "Pink Ladies" We all have our own "Fan pages" on Facebook.  Mine is located here.  Please stop by and "Like" my page!  

Eventually as things grow I will have their page links here as well so you can visit their pages too!  We are going to have our projects as well as information on our blog hops and other activities. (Once we start)

Stamp with Sue
CardsbySunnydots

Please check out their pages and once we start our challenges and blog hops; please come on by and check it out!  It is going to be AWESOME!!!

We are working on the tutorials for the pages in my "Little Pink Book" and am planning on getting them to you soon.


Now for todays project...

A friend of mine's daughter had her 1st birthday, and this is the card that I made for her


Hugs, Karen


Jan 31, 2015

Flip Over this Altered Thinlits Circle Card . . .

Happy Saturday my crafty Peeps!
I Saw instructions for this card on Stampin" Georgia's blog last year and thought it would work with the Celebrate Today Photopolymer bundle.  
I love the card I'm sharing with you today! 


Here is how to use your Circle Card Thinlit in a whole new way....  Begin with a 4-1/4" x 11" piece of cardstock (half of your 8-1/2 x 11 cut in half the long way). Place the cardstock on your magnetic platform with the die, make sure cardstock goes over the thinlit edge instead of under on the one side.


Fold on the score lines created by the thinlit (first one back, second one in) then place in upper left corner of Simply Scored Tool and score @ 5 1/2".  Fold in on 5 1/2" score line. 

Now we can decorate!!  I chose to use the Best Day Ever DSP, and the coordinating Inks, along with some glitter paper and Rhinestones.

Hope you like it!!
Hugs, Karen
Built for Free Using: My Stampin Blog

Jan 23, 2015

Happy Birthday!

Good evening my crafty peeps!

Wow, I slept over 16 hours last night so not to much card making was going on, but I did make a Birthday card for my Step-mum Leah.  I bought this stamp several years ago with her in mind and am now only using.  It is not a Stampin Up product but the rest of the card was done with Stampin Up!


Details: (recipe)

  • The base is 5 1/2" x 8 1/2" Crushed Curry, folded in half.
  • The 4" x 5 1/4" layer of paper was Island Indigo, with a layer of  3 3/4" x 5" piece of Watercolour Wonder DSP
  • 4" x 2 1/2" Whisper White layered on a 4 1/4" x 2 3/4 piece of Island Indigo card stock.
  • The image was stamped with Memento black ink on the Whisper White and coloured with Copics and Stampin' Up! Belandabilites. It was placed on the front with Stampin’ Dimensionals.
  • Happy Birthday was stamped with Crushed Curry on Whisper White and cut out with the Itty Bitty Banners Die and added to the front.
  • Added 3 Rhinestones to the side and wound some Crushed Curry Bakers Twine around the whole thing before attaching to the card base.
  • Inside is a 4x5 piece of Whisper White and using the  stamp set, with Crumb Cake and Island Indigo ink. 

Hope you like it!
Hugs, Karen


Built for Free Using: My Stampin Blog

Gimme Shelter by Libby Klein

Hello my cozy friends, Today I am reviewing Gimme Shelter by Libby Klein  2nd instalment in A Layla Virtue Mystery series. What a great foll...